Looking to light up your garden or home with fairy lights? Most of the time we turn to nails to keep the lights in place.
But despite how useful nails are for hanging fairy lights, they can potentially pierce the lights or damage your home interior. So, what are the alternatives to hanging fairy lights using nails?
In this article, The Solar Centre answers the question ‘how to hang fairy lights without nails?’ as well as providing solutions depending on your home surfaces and requirements, as well as the materials at your disposal.

How to Hang Fairy Lights on the Wall
Walls are one of the easiest surfaces to hang fairy lights without the use of nails. Below is a step-by-step guide on how to attach fairy lights to home and garden walls:
- Step 1: Firstly, it’s important to decide which lights best fit the space available. Choose a spool of suitably sized lights in proportions that match the colour and tone of the room or area.
RGB Madison Solar Lights provide a splash of colour on outdoor walls and are perfect for summer parties.
- Step 2: Simply hang the lights in a pattern that fits the room or area the best, using pins, adhesives or suckers to fix the edges of the lights. Consider the weight of the lights and battery pack when choosing how to secure them, and keep the wire tight enough to avoid slack.
- Step 3: Secure the battery pack somewhere easy to access but hidden from sight. This should be rested on a surface to avoid pulling on the lights.
- Step 4: Turn on the lights and adjust their position accordingly.
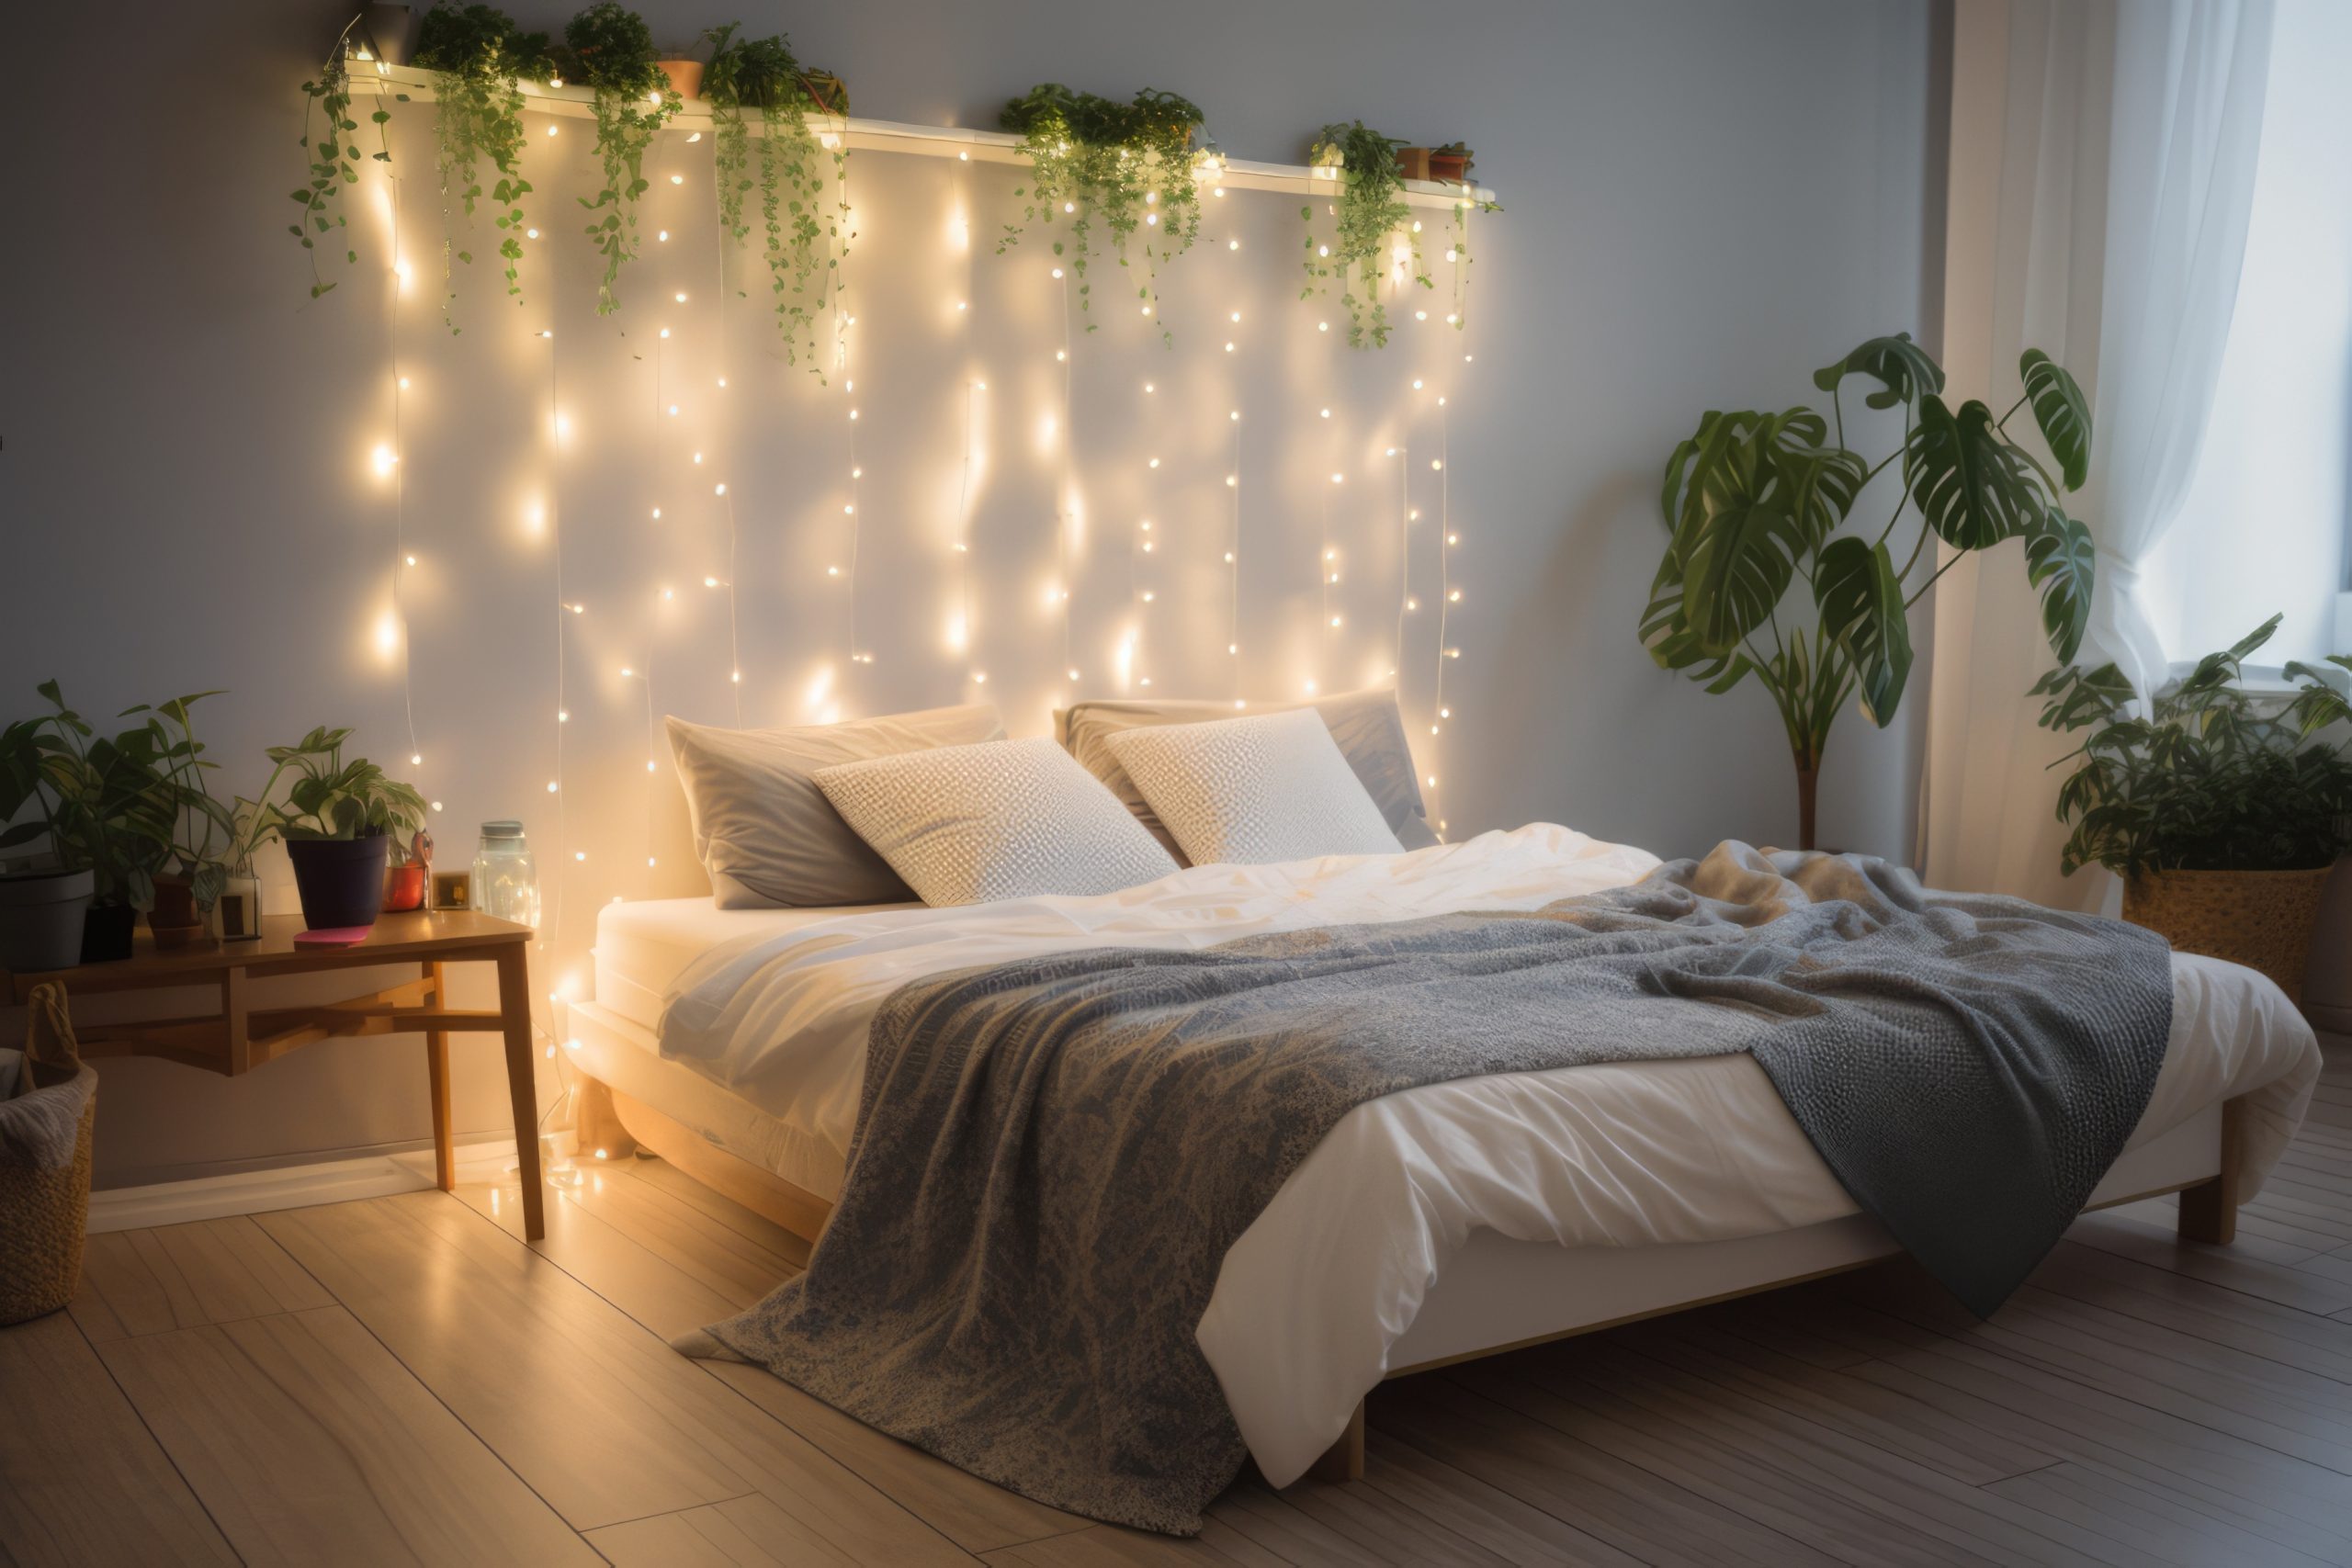
Hanging Fairy Lights Indoors and Outdoors
Fairy lights make the perfect colourful and illuminating addition to both indoor and outdoor areas, evoking moods from calm and peaceful to energetic and task-oriented.
But which is the best method for hanging them in each situation? Below are a variety of methods for hanging fairy lights for every situation.
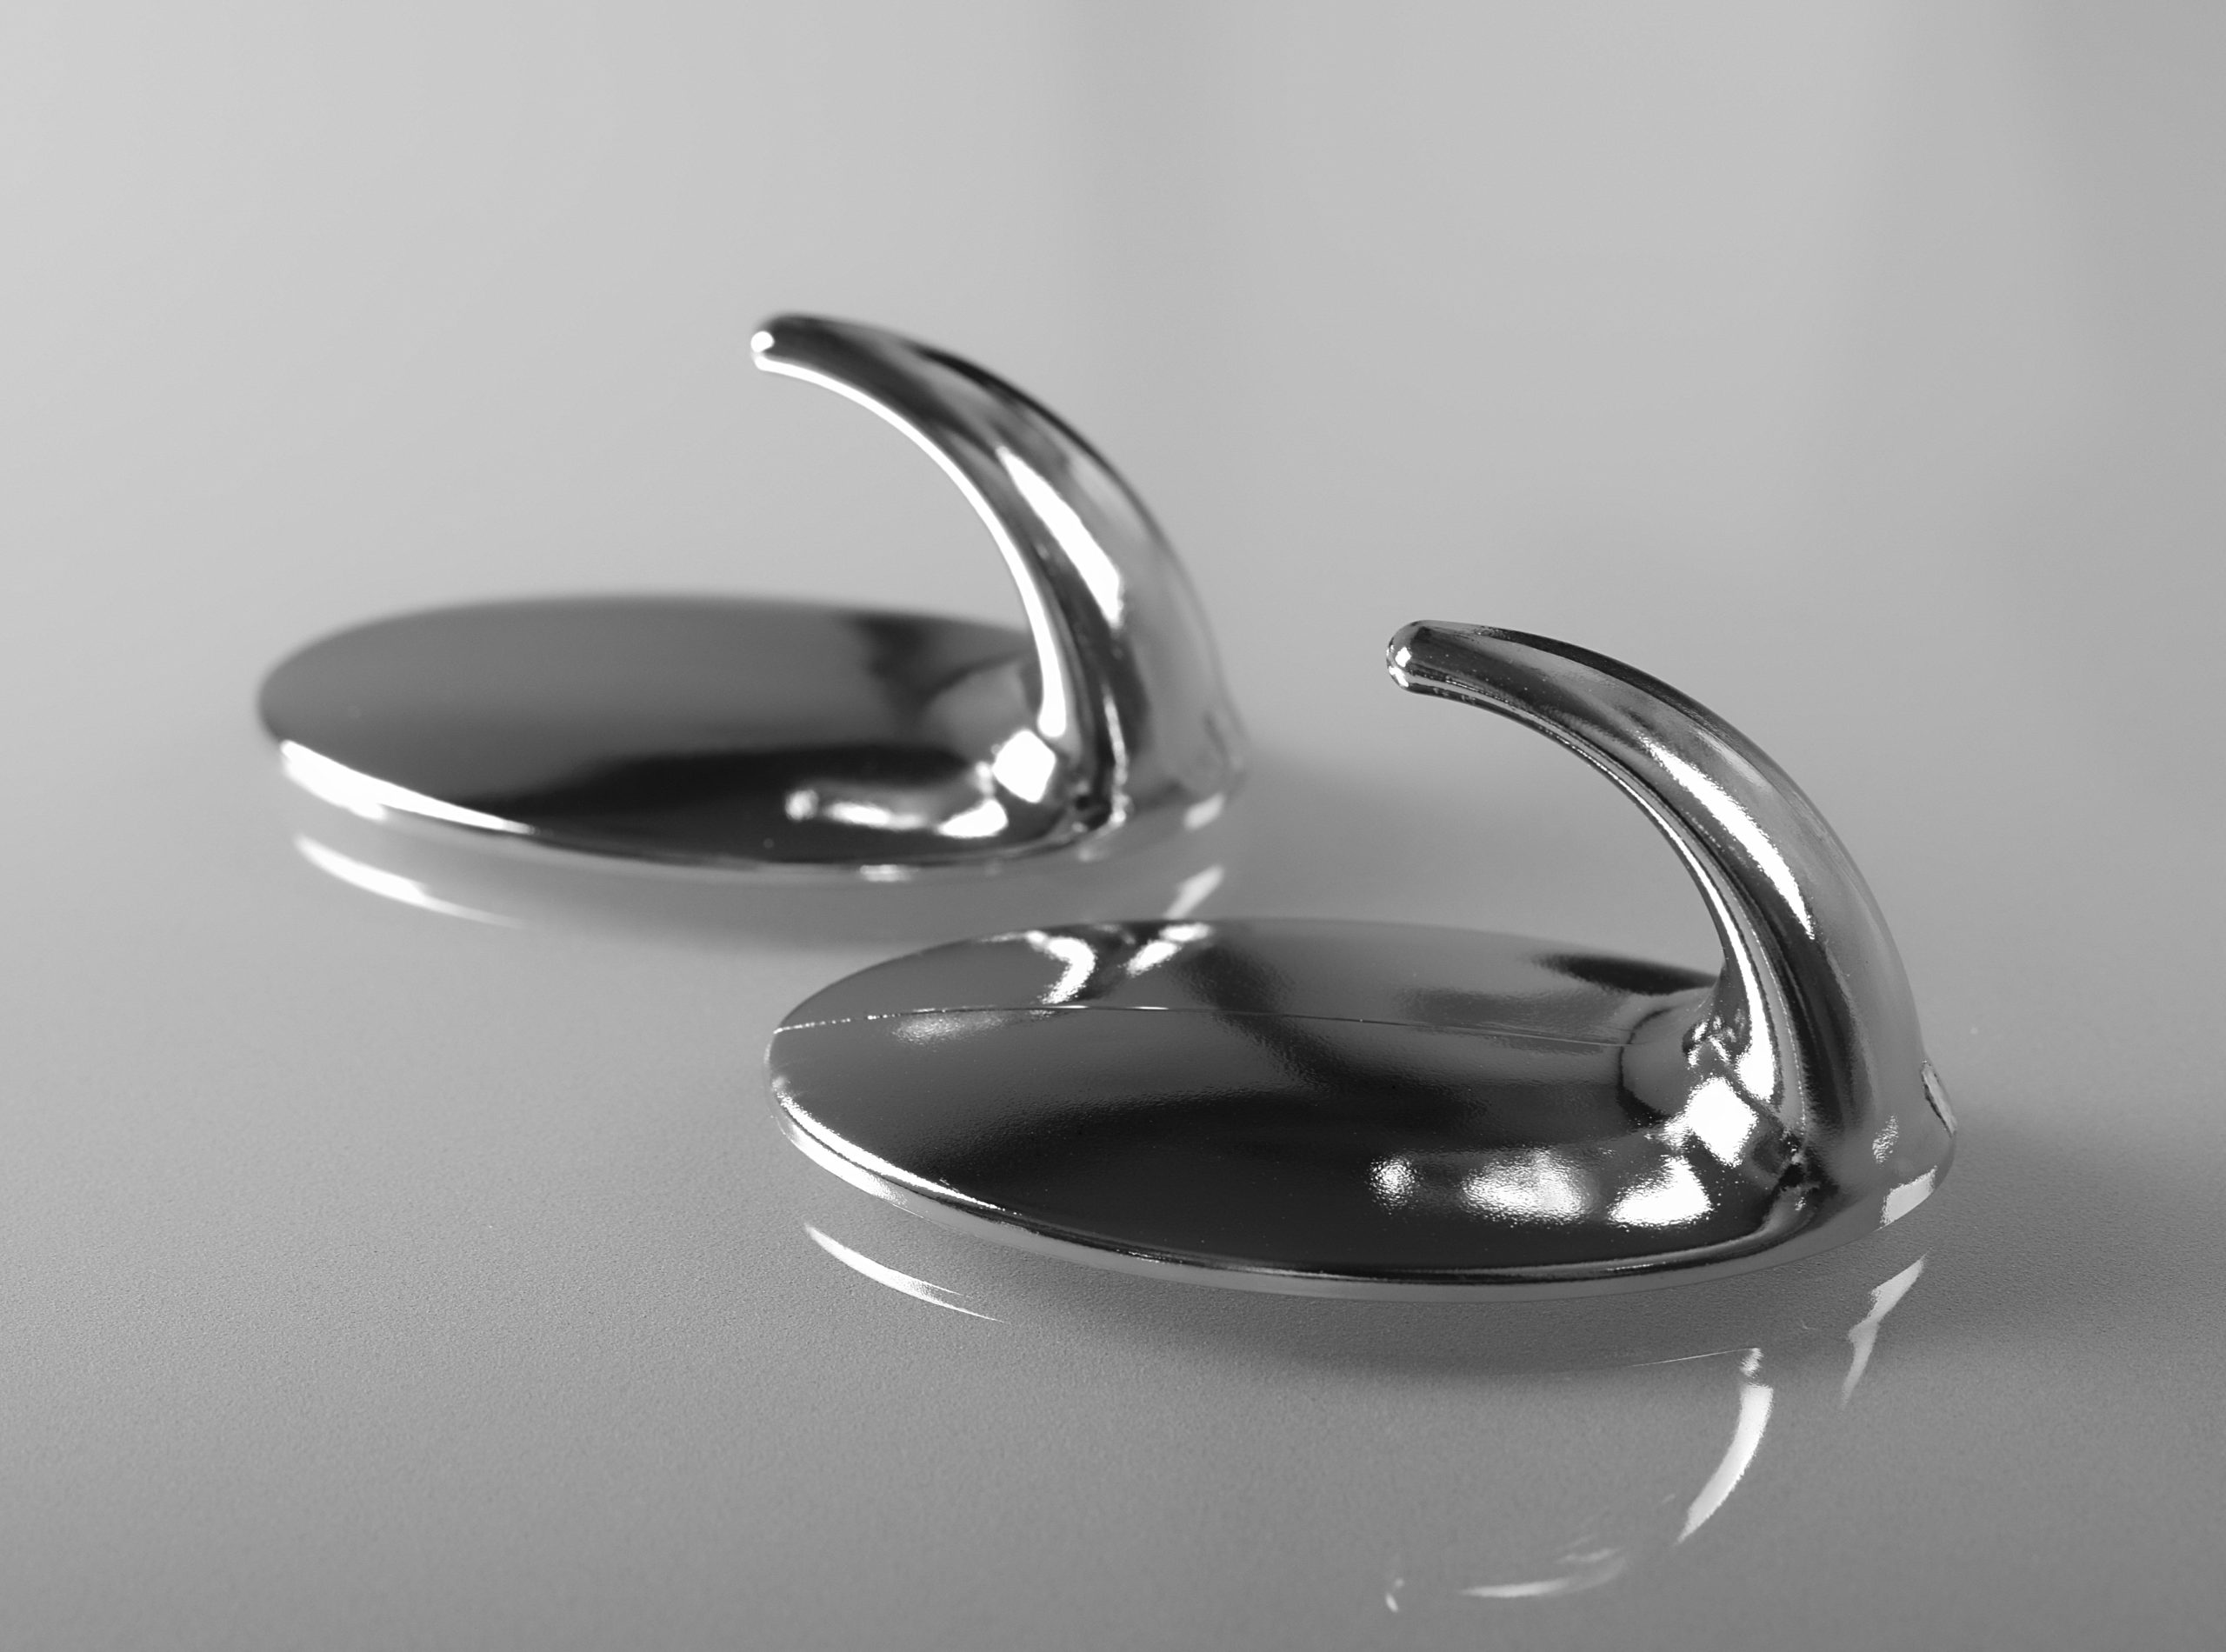
Leave no marks – Sticky-Back Hooks
Sticky-back hooks provide a sturdy support for fairy lights without needing to be screwed into walls, fence panels and other surfaces.
They’re ideal for use anywhere inside or out of the home – designed for home interior use without leaving marks, as well as coming in outdoor, weather-resistant designs that stick to a wider range of rougher surfaces.
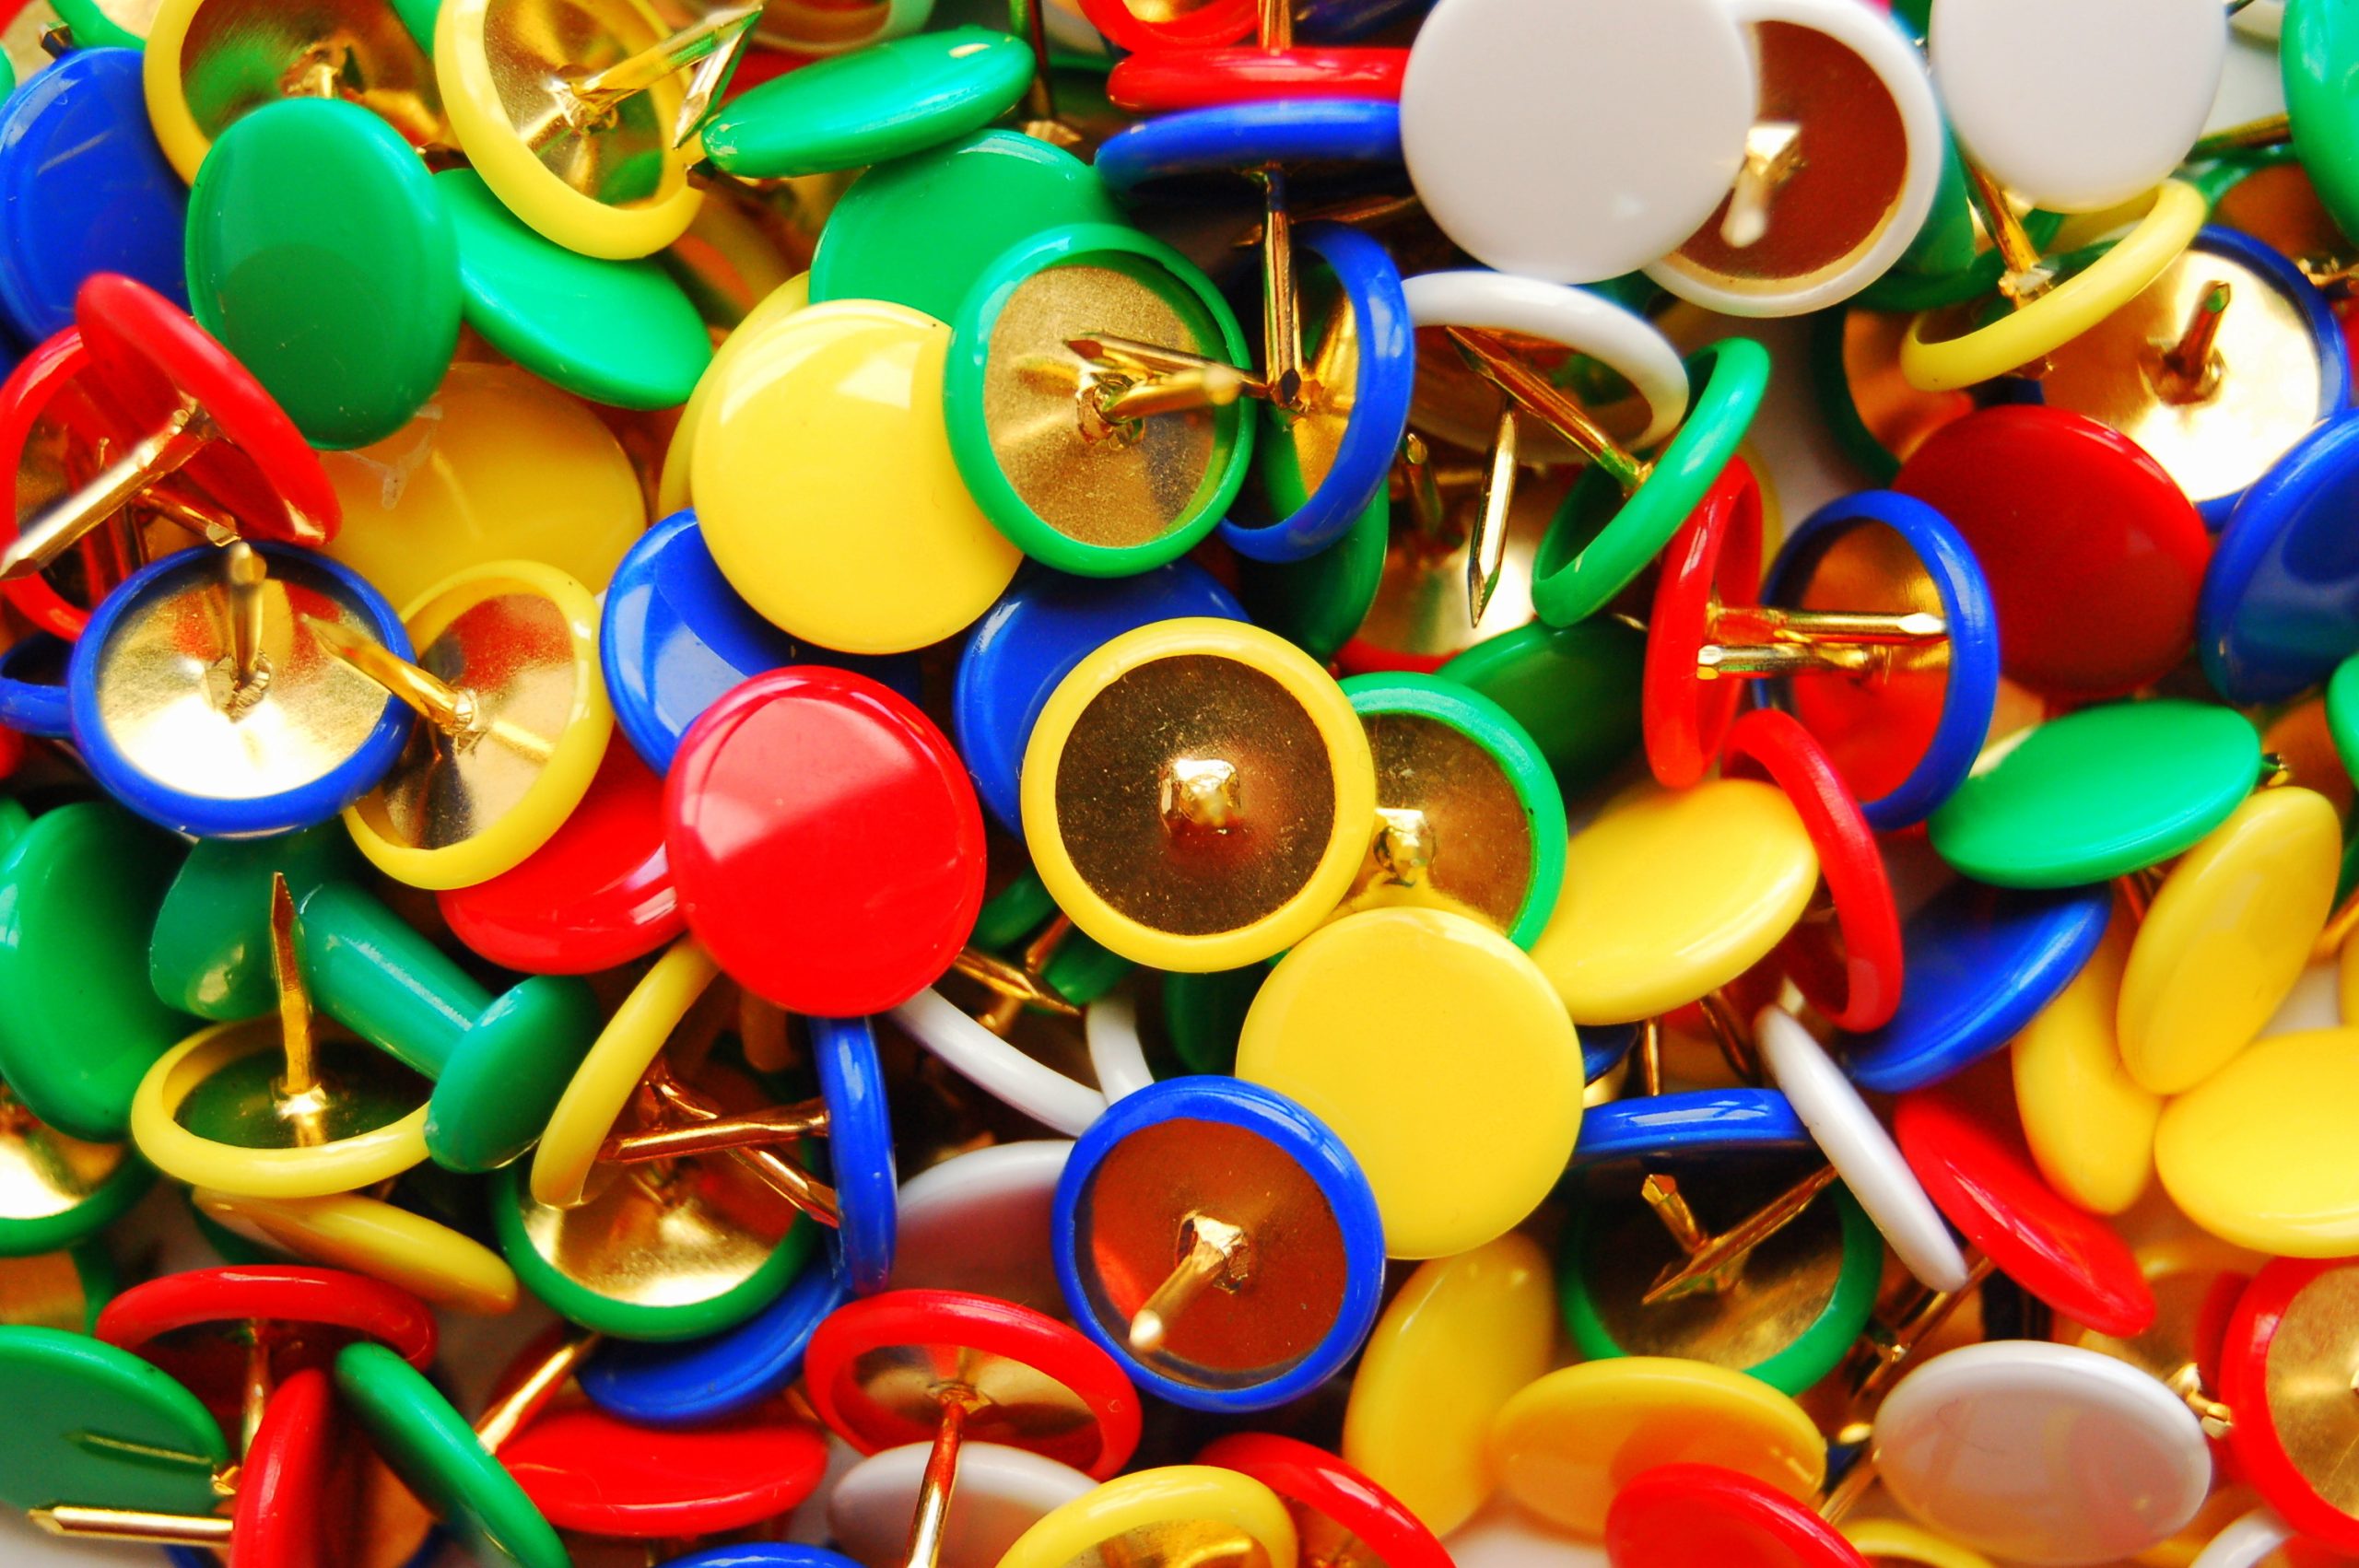
Cost-Effective – Pins:
Pins are reusable and sturdy, keeping strings of fairy lights in the same place over a long period.
They’re also more weather-resistant than other methods in this list. However, they can still leave marks on walls and come with the added risk of piercing and damaging the lights – but not to the same extent as nails.
Convenient and Flexible – Wrapping or Draping:
Wrapping or draping lights over objects – such as indoor shelves or curtain rails, or outdoor fences or trees – is the best way to hang them without damaging or marking walls or furniture.
However, this method can leave fairy lights with too much slack, making it difficult to keep them arranged in the same place over a long period. The lights may also fall if not kept in place with a heavy object or hook.
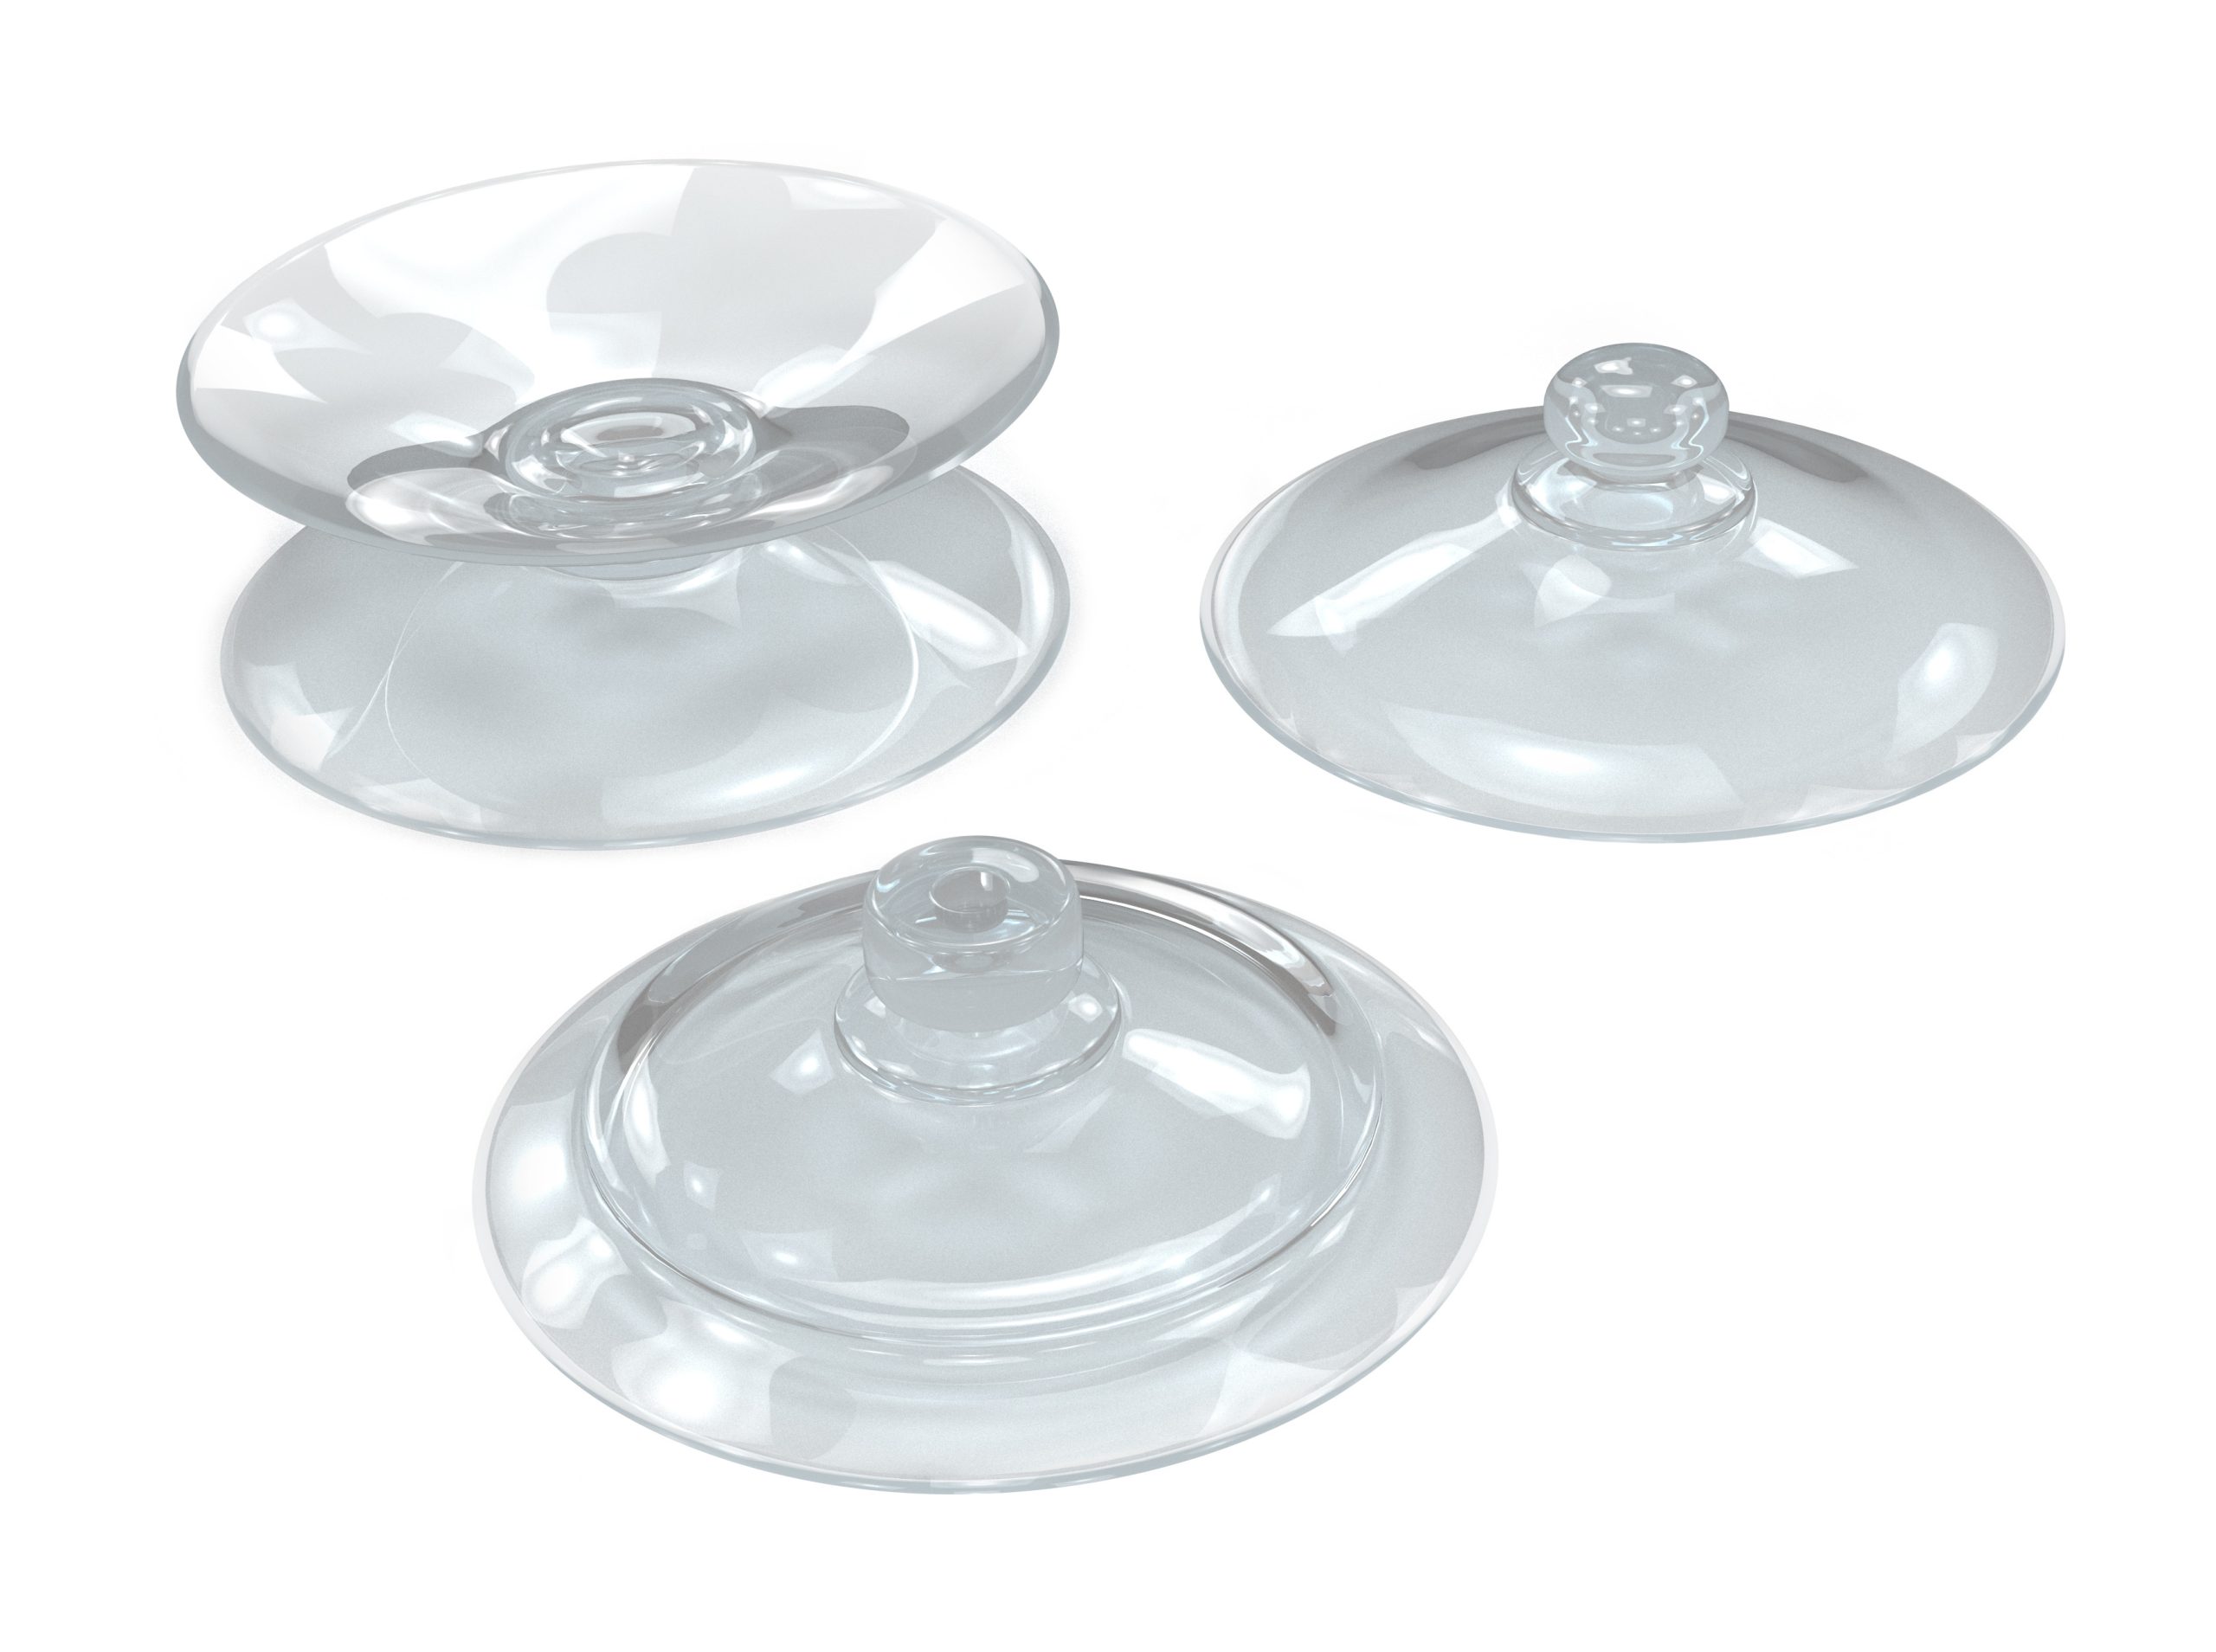
Suckers are ideal for attaching fairy lights to a wall without damaging surfaces or paintwork – plus, they’re relatively sturdy and strong.
However, they will require a flat surface to work effectively and won’t always remain firmly attached to every surface – especially uneven materials like brickwork.
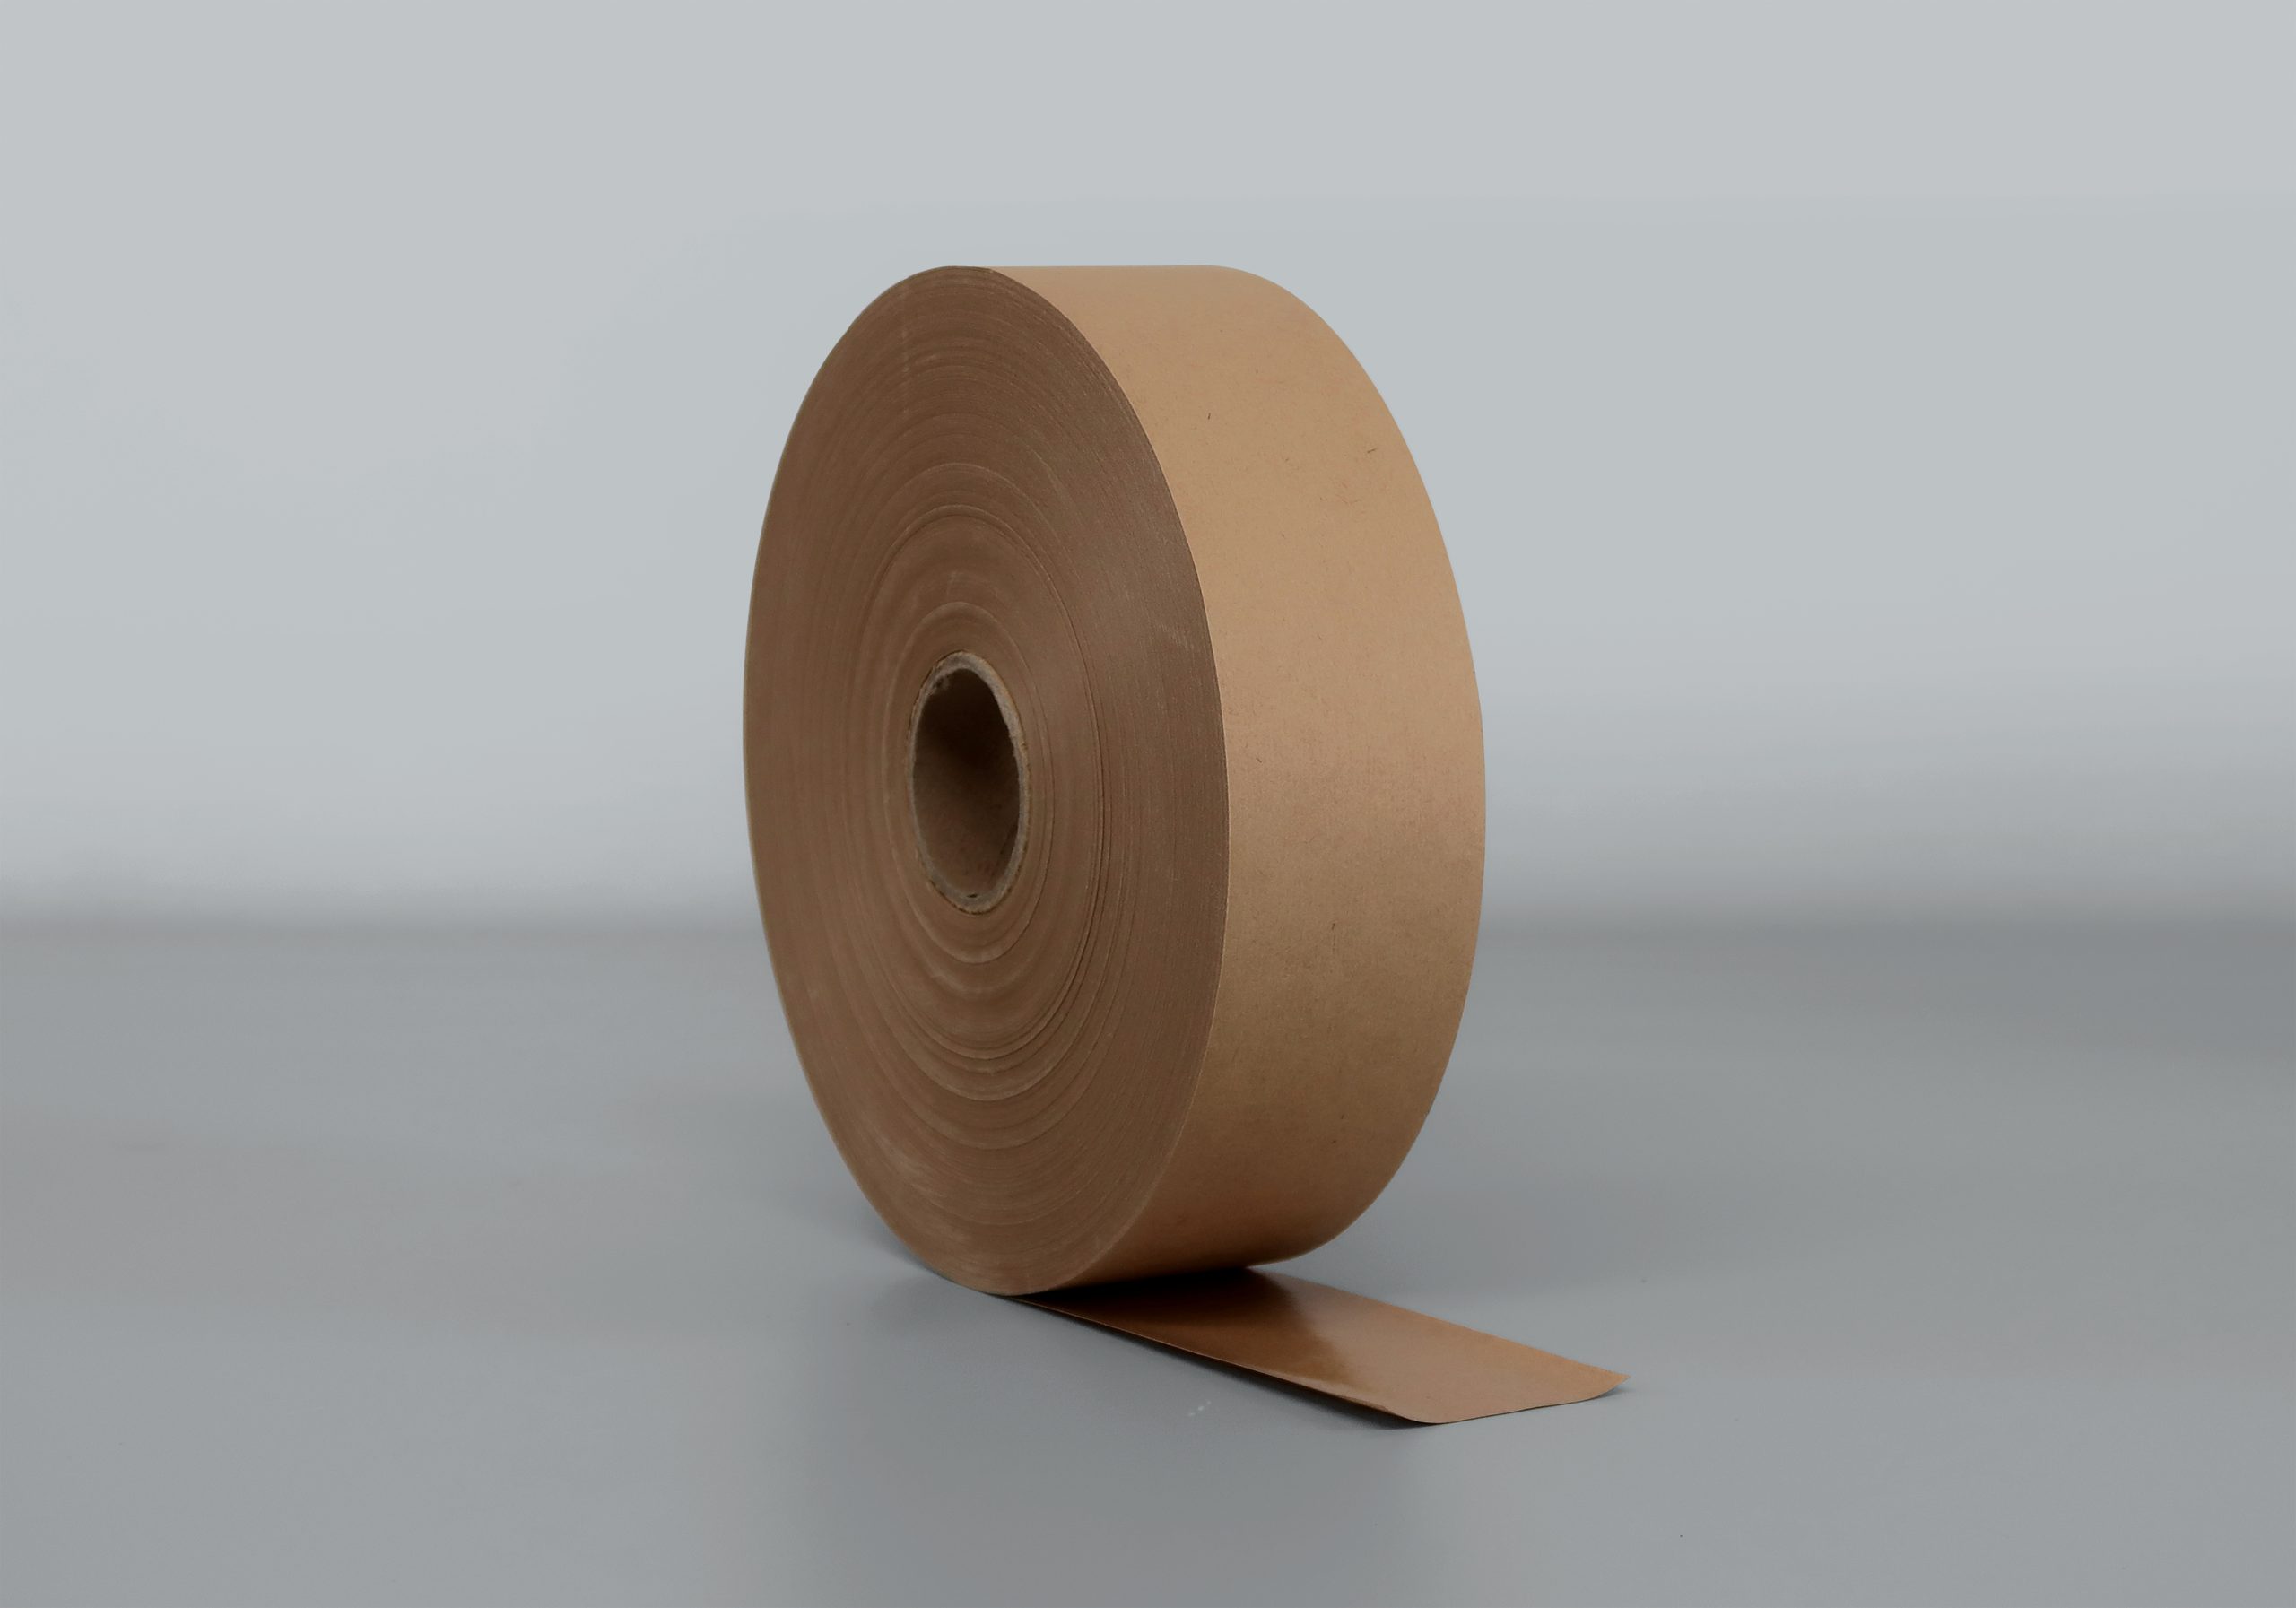
Versatile – Non-Stick Adhesive:
Non-stick adhesive is a cost-effective alternative to suckers. If you need to take the lights down, simply apply warm water to the tape, which will peel away with relative ease.
However, this does mean the tape is not a water-resistant solution and could come loose in damp or high-moisture environments – such as outdoors or in bathrooms or utility rooms.
If this occurs, and the lights are ripped from the wall, the adhesive could also damage paintwork and leave unwanted marks.
How to Hang Outdoor String Lights
Hanging fairy lights outdoors can be tricky, thanks to wind, rain, direct sunlight and other weather risks.
So, there are a few extra steps that must be taken to properly secure the lights. Below are several methods to keep in mind when hanging string lights outdoors:
How to Hang String Lights in a Back Garden Without Trees
Option 1: Use a Fence
- Step 1: Lay the string along the fence to get an idea of the length of the lights. It’s important to keep some slack in the string to ensure the lights have room to move.
These White USB Solar Fair Lights are perfect for hanging along a fence, offering inviting soft lighting and flexibility.
- Step 2: Select sturdy wooden posts to support the lights. Make sure all posts are the same length and are strong enough to withstand strong winds.
- Step 3: Attach metal hooks to the top of the post at roughly the same height across all posts. These hooks will be used to hold the string lights.
- Step 4: Using cable ties, attach each post to the fence, an equal distance apart. Alternatively, these posts can be embedded into the ground.
- Step 5: Feed the lights through the hooks and give the wire some slack. Next, turn the lights on and adjust them accordingly.
Option 2: Hanging String Lights Above an Open Space
- Step 1: The first step when hanging lights without a surface to rest on is to identify any existing overhead supports that can be used. It’s important these supports are roughly equidistant from point to point.
- Step 2: Use a tape measure to mark the points where new supports need to be made.
- Step 3: Buy several tall, sturdy wooden posts the same height as the overhead space.
- Step 4: Use deep planters or cement the posts in, to support them against high winds.
- Step 5: Attach sticky-back hooks to the top of the poles, or use cable ties, then thread the lights between the tops of the posts. Wrap them around the post as many times as required to create the aesthetic you’re looking for.
These Lumify USB Solar Flower Jar Lights are the perfect overhead lights for a cosy, vintage feel.
Option 3: Hanging Patio Lights
- Step 1: Take measurements of the area you’d like the lights to cover. Decide on where the hooks will go.
- Step 2: Attach sticky-back hooks to any walls or posts that can act as supports.
- Step 3: If needed, consider adding extra posts to support the lights. Make sure these new posts are the same height as any existing ones.
- Step 4: Begin threading the lights between the hooks in your desired arrangement, making sure to keep any solar panels on the lights uncovered.
- Step 5: Turn the lights on and check you’re happy with how they look.
Frequently Asked Questions (FAQs)
Q: How to Get Blu Tack Off Walls Without Removing Paint
A: If you’ve attached fairy lights with Blu Tack and are worried it may leave a mark, lightly cover the area with vinegar, applying it with a soaked rag. Leave the area for a few minutes before wiping it clean and gently peeling the Blu tack free from the wall.
Q: How to Stick LED Lights on Walls Without Adhesive or Nails?
A: Adhesive and nails can potentially ruin home interiors by marking walls or creating unsightly holes. However, basic Velcro strips are a great solution, providing adjustable ties that keep interior décor from being damaged.
More from The Solar Centre
Looking for more tips from our solar lighting experts? Check out our other useful guides, including: